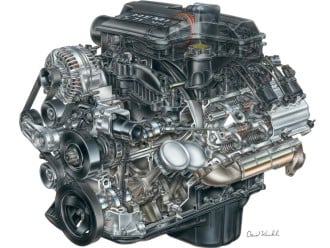
The cylinder head needs to be robust. They must withstand huge pressures and very high temperatures while maintaining their shape and form to seal the cylinder block with cylinder head gaskets. They are the key to controlling the airflow and fuel deployment inside and outside the cylinder.
The cylinder head also holds the injectors and valves, and contains more moving parts than any other part.
Although largely unnoticed, the cylinder head plays a key role in your engine. This is a solid project that sits on top of your unit and covers how it works. It is sealed with a head gasket.
What Actually Happens When Your Head Gasket is Replaced
There are many signs that the head gasket in your car will be broken. If the head gasket of your car engine explodes, your entire engine may be completely written off, so it is vital that you are able to spot and solve the problem before it happens!
What is a head gasket and what does it do?
The head gasket is responsible for sealing pressure within a car engine as well as the distribution of oil and engine coolant.
Every time you turn on your engine, the head gasket must work at a very high temperature and pressure, which is exactly what it is designed to do. The engine of your car needs to be cooled constantly because it relies on combustion power, and the head gasket is the core component to perform this job.
Damaged head gasket
If the head gasket is damaged, the engine will quickly overheat and cause serious damage. Overheating of your car's engine can cause loss of compression, mixing of oil, water, and coolant, and loss of lubrication.
The cylinder head gasket is a very complex device, so various materials are needed to build it. It must be able to withstand and work normally under extreme temperatures and pressures. It also needs to be resistant to all chemicals and oils.
As a result, each gasket from one car to the next is different as the demands of each engine are unique. Car manufacturers like Ford, Vauxhall and BMW spend millions of pounds every year in the research and development of head gaskets to help manage the pressure and cooling of engines.
Signs of a faulty head gasket
Most drivers know what a head gasket is, but many people are not sure what caused the head gasket to blow. Fortunately, there are some symptoms of blown head gaskets, and you can find out if yours needs repair. This means that you may see any problems before it develops into a serious problem.
The temperature gauge is higher than normal
You can see bubbles rising once the cap has been removed from the car radiator
Your car is chugging or suffers from a loss of power
There is engine coolant or oil on your spark plugs
Your engine oil is thicker than usual - You can check by using a dipstick
A lot of white smoke is being emitted from the exhaust or liquid is dripping from the same place
How to Replace a Cylinder Head Gasket
Cylinder Head gasket replacement is not a job for the average do-it-yourselfer. While a head gasket expiring due to old age is rare, it usually means everything else is worn out to the point of replacement as well. Cracking the head off the engine and peering inside may reveal that everything else got fully cooked, too. The best way to prevent cylinder head gasket failure is to keep the cooling system in top working order and make sure the engine is in tune and running correctly. The failure of a $5 thermostat or $3 coolant hose can cause thousands of dollars in engine damage in a hurry.
The following are some general recommendations for replacing the cylinder head gasket. For vehicle-specific head cover gasket replacement procedures, be sure to refer to the repair manual.
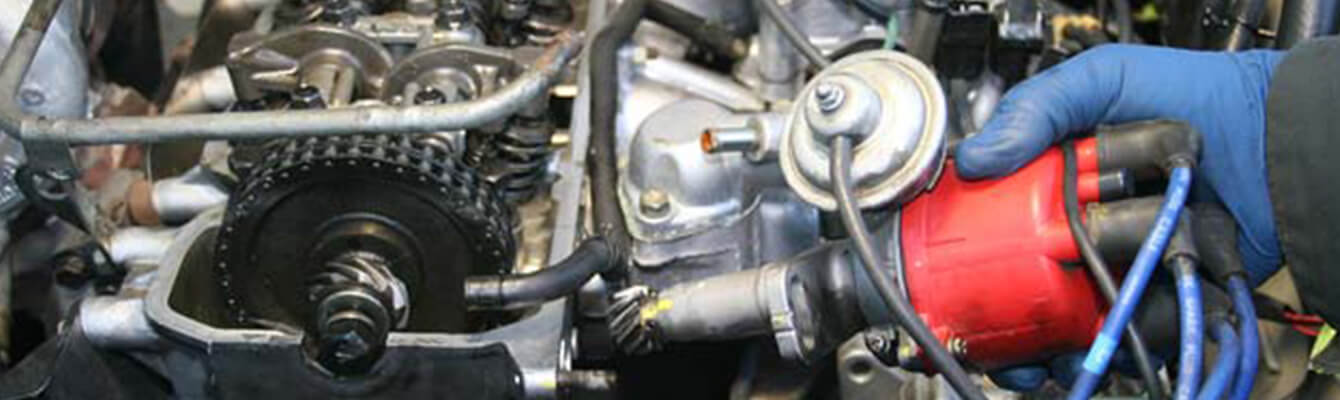
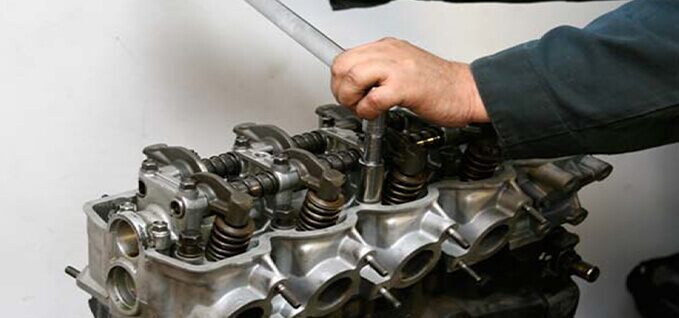
Step 1: Reaching the head gasket may be a involved process. Always mark and index everything before removal. In this case, it is easier to disassemble the exhaust manifold, head and intake as a unit. The service manual is the first and most important tool in the toolbox.
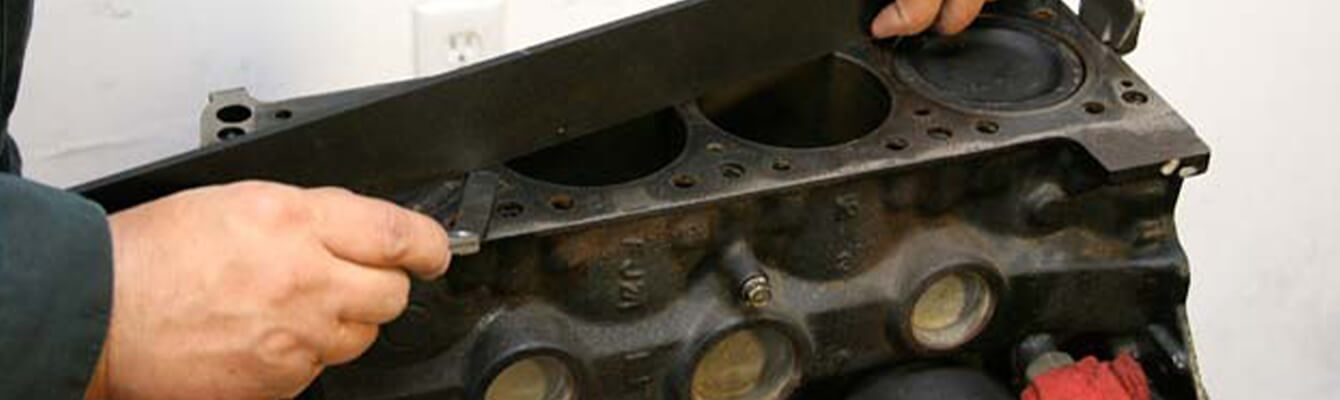
Step 2: Check the head and block for flatness. A machined straight edge across the surface and feeler gauge will reveal all. The service manual will provide specifications. Blocks or heads out of specification must be sent out to the machine shop and be repaired. The machine shop will also be able to check for cracks.
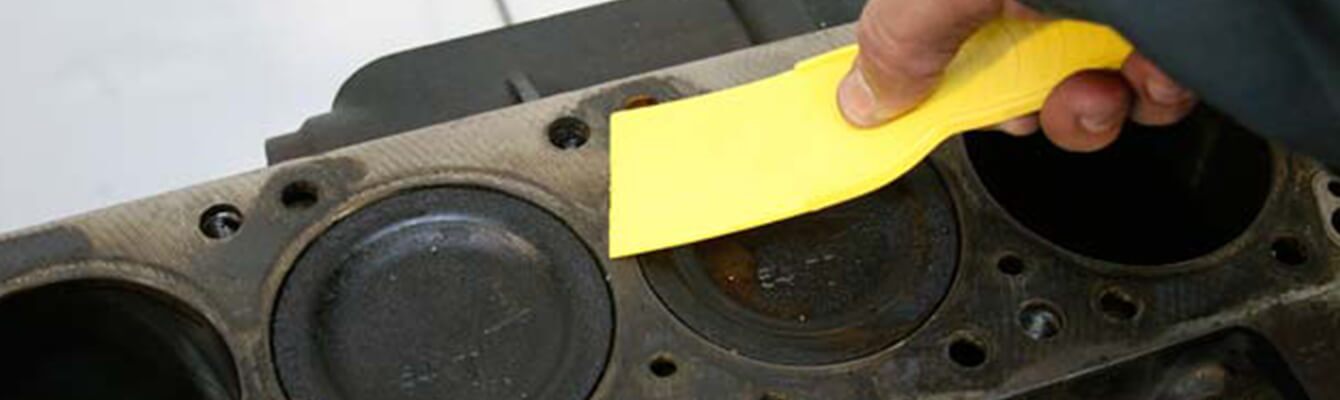
Step 3: Prepare the surface. Never use anything that can remove metal. Be careful not to scratch the deck of the block or the surface of the installation head. Although it may seem like a good idea to use a scrubber pad connected to a power tool, the resulting surface irregularities can cause sealing problems on the road.

Step 4: Chase the head bolt or stud holes with a tap or thread chaser to remove any crud and prepare the threads. Use compressed air to blow out any stragglers. Correct head bolt torque is of the utmost importance. Any interference can throw off the torque readings.

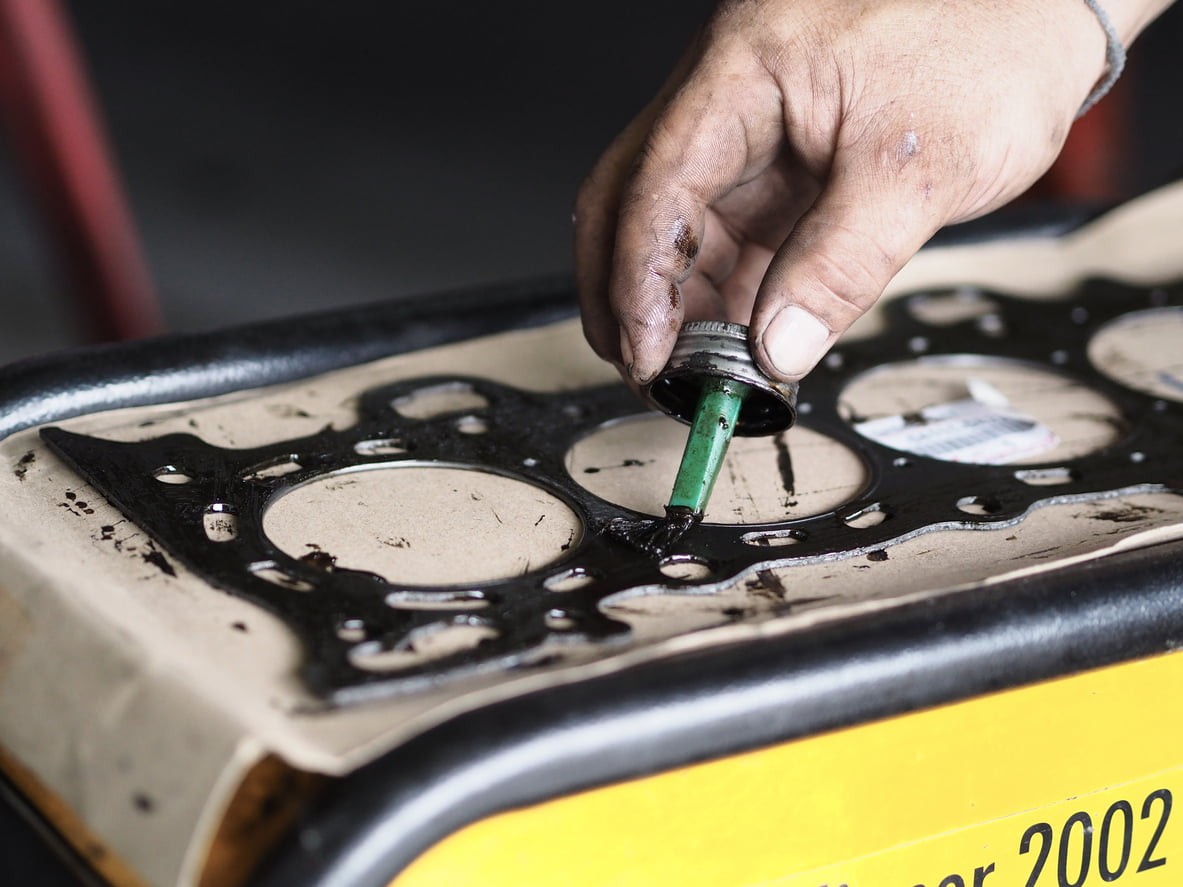
Step 5: Prefit the head gasket in the correct orientation. Never use sealant unless specifically required by the manufacturer. Head gaskets that require sealant will usually come so equipped. The service manual will outline sealant locations and requirements.
Step 6: The correct bolt tightening sequence and torque are the keys to correct head gasket sealing. If necessary, use new bolts. Cover the head bolt threads with some engine oil before installation. Always follow the tightening sequence and torque instructions to the last detail.