7.Can roof racks be removed?
8.Is a roof rack dangerous?
9.What tools do I need to install a roof rack?
10.What tools do I need to install roof rails?
11.Does the shape of the roof rack influence car performance?
12.General Tips on Installing Roof Rails

Can roof racks be removed?
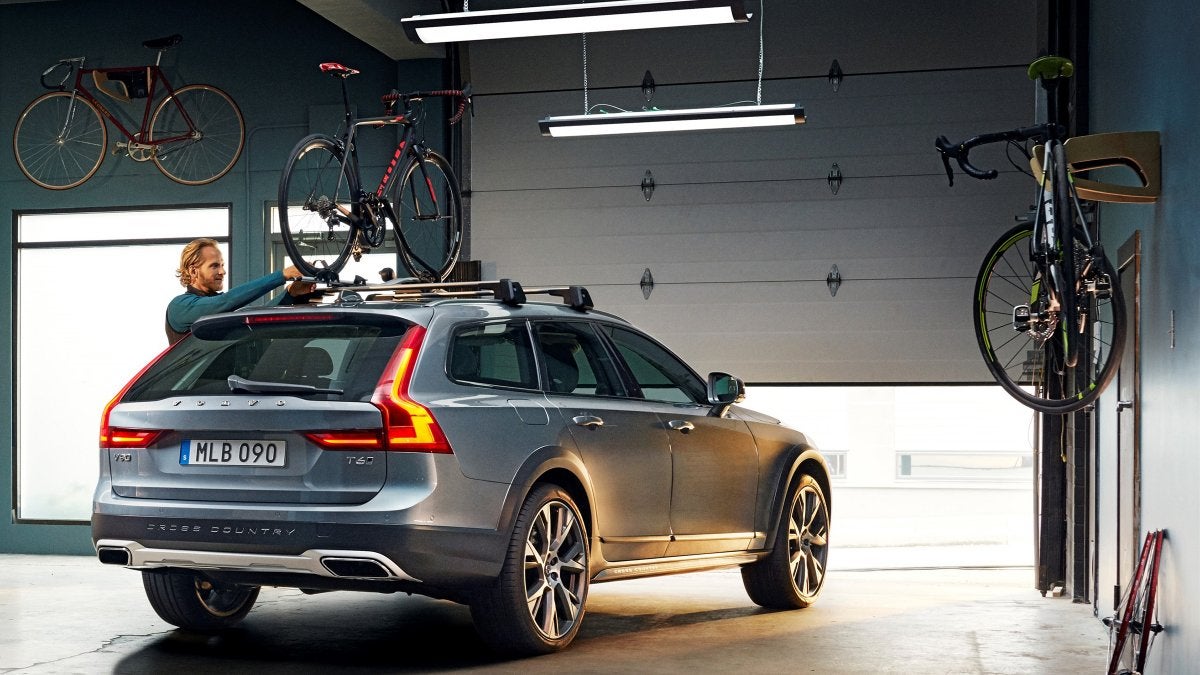
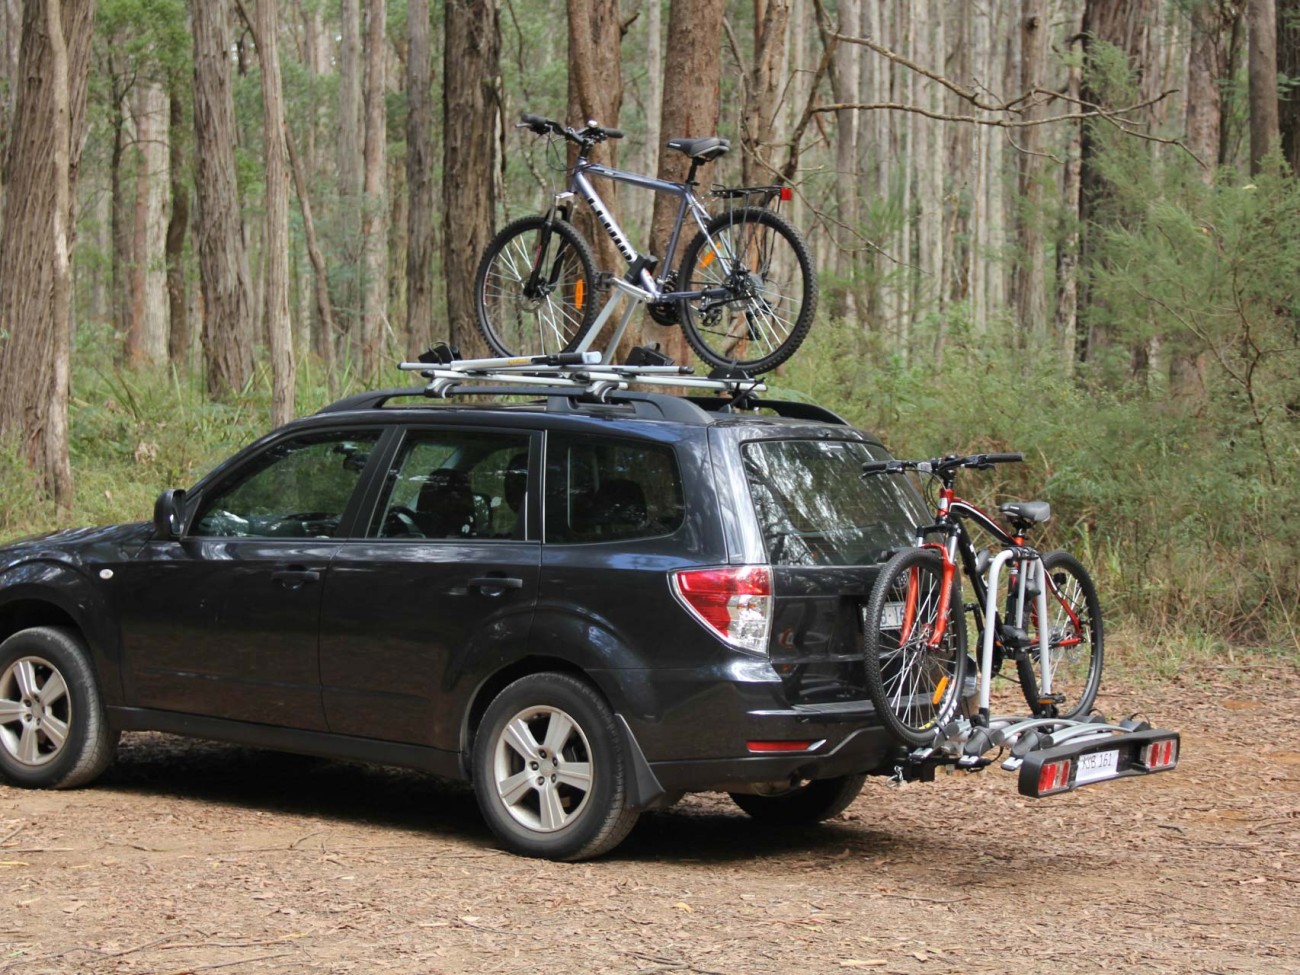
Regardless of the type of roof rack you purchase, it can be removed after installation. Some modern roof racks can be installed or removed in 15 minutes, which means you can remove them from your vehicle when it's not being used.
Is a roof rack dangerous?
When installed correctly, a roof rack is not a dangerous accessory. They can, however, be dangerous if you don't take overhead clearance into consideration. In addition, driving at high speeds in windy conditions with a roof rack may make your vehicle less stable. Pay careful attention to the tips from the manufacturer of the roof rack to help reduce those risks. Conditions will vary depending on where you live, so consider your driving speed when traveling with a roof rack and cargo.
What tools do I need to install a roof rack?
It does not require any special tools to install. Typically they use rubber straps for installation, although some older designs do require fitting bolts and screws.
What tools do I need to install roof rails?
Roof rails, on the other hand, will generally require multiple tools for installation. The process also takes longer depending on the roof rail. Some tools you may need to keep handy are screwdrivers, needle nose pliers, Torx drivers, a file, drill, drill bits, pushpins, jigsaw, and plastic trim tools.
Does the shape of the roof rack influence car performance?
Adding a roof rack and subsequent cargo to the roof of your vehicle will affect its overall aerodynamics. This results in lowered fuel economy and more drag on your vehicle. Overall vehicle performance can also be affected due to added weight. Most importantly, however, you'll want to keep in mind that traveling with a roof rack and cargo may mean driving at slower speeds to be safe. Some products claim to be more aerodynamic than others, so if fuel economy is a concern, pay close attention to a roof rack's aerodynamics.

General Tips on Installing Roof Rails
Not all roof rails will be installed with the same process, so follow the instructions carefully. But if you're looking for an idea of how roof rails are installed, here is a general overview of the steps involved in your vehicle that came with rubber roof strips.
1.Remove the rubber strips on the roof
This step is fairly straightforward, as removing the rubber strips on your roof shouldn't be very complicated. On most vehicles, this can be done by hand by pulling on the strips to raise them from your vehicle. Once a section of the strip has been lifted, you can remove it by pulling it towards the front of the vehicle.
2.Remove the rear hinge bracket
Some vehicles will have a rear hinge bracket, especially on larger cars. This bracket normally can be easily removed, but may require some extra force. Some cars will require you to open the trunk so the bracket can slide out unobstructed. A rubber mallet is recommended for this step, since you don't want to accidentally break the bracket.
3.Modify the hinge bracket
For some roof rails, the bracket will end back up on the roof of the car, but not before you make some modifications to it. This is where a jigsaw can come in handy so you can cut the hinge bracket down to the necessary size and shape. And this doesn't have to be a perfect job, since the bracket will be covered by the roof rails once they're installed.
4.Modify the roof rubber strips
The rubber strips you removed from the roof of your car at the start may need to be shortened. The length required is typically noted in the roof rail installation instructions. Measure the strip and mark where it needs to be cut before you do the actual cutting.
5.Install the trim piece
Start from the front of the car to reinstall the shortened trim piece back onto the roof of your car. For most vehicles, this piece is made from plastic and will clip into position.
6.Remove the remaining plastic clips from the roof
If there are any remaining plastic clips that are exposed on the roof, you'll want to remove these with a flathead screwdriver or similar tool.
7.Reattach the plastic hinge cover
You can now reinstall the plastic hinge cover to the back of the roof rail. Pay close attention as you'll have to position the cover so that it attaches to some of the plastic clips. To make it easier, you can remove the plastic clips from the roof of the car first and attach them to the plastic hinge before snapping it all back in.
8.Install the mounting bracket and roof rail cover
Depending on the roof rail, your next step will be to line up the bolts and install the mounting bracket into place. All roof rails should come with the necessary hardware for install.

General Tips on Installing a Roof Rack
Compared to installing roof rails, installing a roof rack is generally much simpler. In fact, most products won't require any special tools since modern roof racks come pre-assembled. That means you'll likely have to just mount them onto your roof rails or crossbars.
1.Place the rack on the cross bars
Most roof racks will come with securing straps or clamps already mounted to the unit. Start by placing the front piece on the crossbar, towards the front of the car, and the rear piece towards the rear of the car. Make sure they are centered with equal spacing to the edges of the crossbars.
2.Lock the rack into position
In order to secure the rack onto the crossbars, you'll need to tighten the straps that are included. Most racks come with adjustable straps that can be tightened into my position by simply turning a knob.
3.Test for sturdiness
Once your roof rack has been installed, check and make sure it's nice and secure. Since you'll likely be driving at high speeds, wind resistance could possibly move the rack, which is something you will want to avoid. Make sure everything is sturdy before adding cargo to the roof rack.


